Beginner’s Guide to Strength Training at Home
Starting a strength training journey as a complete beginner can feel overwhelming, especially when social media is flooded with images of heavy barbells, complicated machines, and athletes who seem to have been born in a gym. Here is the truth: you do not need any of that. Building real, lasting strength can happen in your living room, your backyard, or your bedroom — with nothing more than your own body weight or a few affordable tools. This guide will walk you through everything you need to know to get started safely, confidently, and with a clear plan that actually makes sense for your life.
Why Strength Training Matters for Long-Term Health
Most people associate strength training with aesthetics — getting toned arms or a flatter stomach. While those can be nice side effects, the deeper reasons to lift are far more compelling, especially as you age.
Strength training helps preserve and build muscle mass, which naturally declines after your mid-30s in a process called sarcopenia. Studies published in journals like the Journal of Bone and Mineral Research have shown that resistance training is one of the most effective ways to maintain bone density, reducing your risk of osteoporosis and fractures later in life. Your joints become better supported when the muscles around them are strong, which means fewer aches, better posture, and more comfortable movement day to day.
Beyond the physical, resistance training has been linked to improved mood, better sleep, and reduced symptoms of anxiety and depression. The Centers for Disease Control and Prevention (CDC) recommends that adults engage in muscle-strengthening activities at least two days per week — not as an elite performance goal, but as a basic component of health, similar to eating vegetables or staying hydrated.
For total beginners, the good news is that even modest effort produces significant results. Your body is not used to resistance training, which means it responds quickly in the early weeks. That first month of training often brings noticeable improvements in energy, posture, and physical confidence before your muscles even change significantly in size.
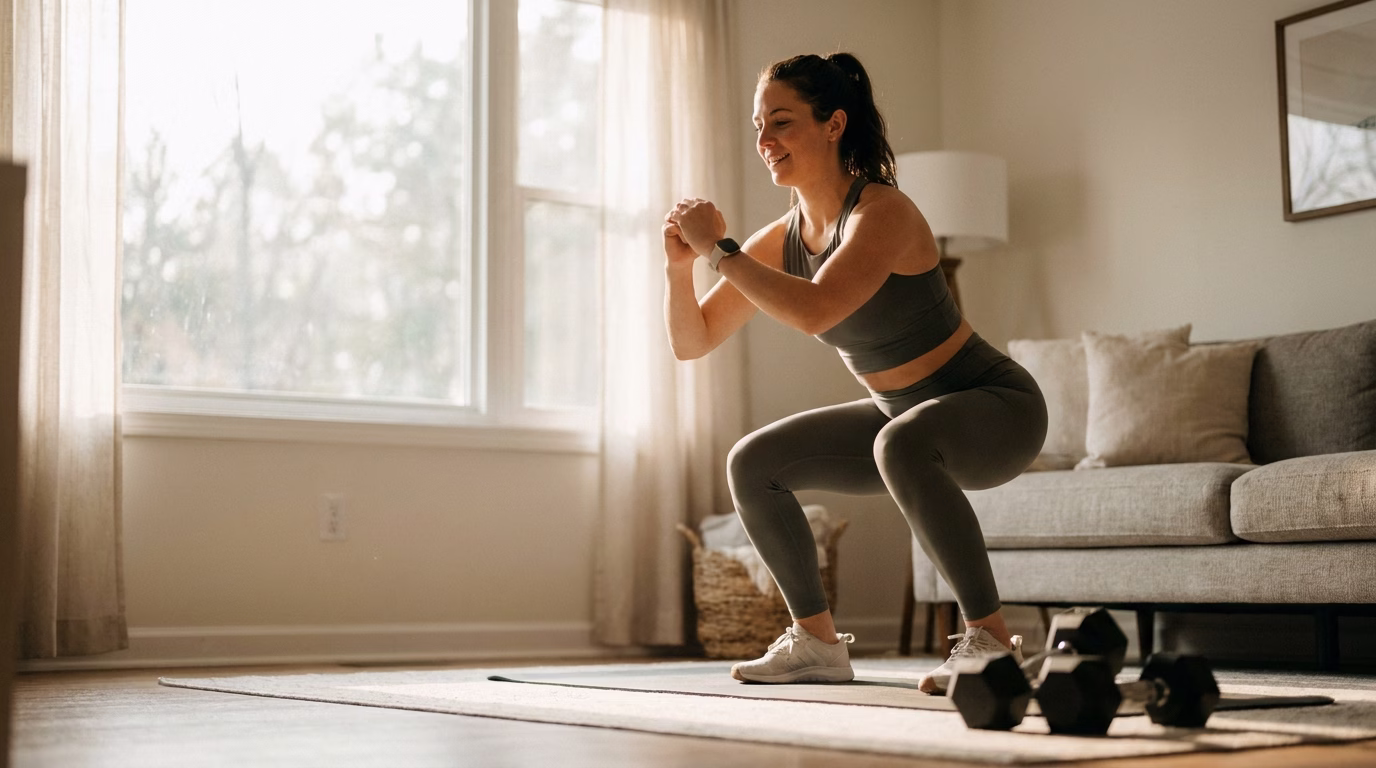
Essential Equipment vs. Bodyweight-Only Options
One of the biggest myths about strength training is that you need expensive equipment to see results. You do not. Bodyweight training — using your own body as resistance — is genuinely effective for beginners and can take you far before you ever need to buy a single piece of equipment.
Bodyweight-only training uses movements like push-ups, squats, lunges, and planks to challenge your muscles. These exercises require zero investment and can be done anywhere. If you want to start this week without spending a dime, you absolutely can.
If you do want to invest a small amount of money to add variety and progression, here are the most beginner-friendly options:
- Resistance bands: These are the most beginner-friendly purchase you can make. A set of loop bands or tube bands with handles typically costs between $10 and $30 and allows you to add scalable resistance to dozens of exercises. Lighter bands are great for upper body work, while heavier bands support lower body exercises like squats and deadlifts.
- A pair of adjustable dumbbells: A fixed pair of light dumbbells (5–15 lbs) can be found for $20–$50 at stores like Walmart or Target. Adjustable dumbbell sets that go from 5 to 52 lbs are more expensive (often $150–$350), but they replace an entire rack of weights.
- A yoga mat: Costs roughly $15–$30 and makes floor exercises far more comfortable.
You do not need all three. Start with what you have. Many people have built impressive strength through pure bodyweight training for months before adding any equipment at all. The goal right now is to move consistently — not to build a home gym.
Core Movement Patterns Every Beginner Must Master
Rather than memorizing dozens of exercises, focus on six foundational movement patterns. Every effective strength workout, from beginner to advanced, is built around variations of these patterns.
- Squat — Bending the knees and hips to lower your body, like sitting into a chair. This trains your quads, glutes, and hamstrings. Start with a bodyweight squat or a chair squat.
- Hinge — Pushing your hips back while keeping your spine neutral, like a deadlift motion. This trains your hamstrings, glutes, and lower back. Start with a Romanian deadlift using light dumbbells or a resistance band.
- Push — Pressing weight or your body away from you. Horizontal pushing includes push-ups and dumbbell chest presses. Vertical pushing includes overhead presses. This trains your chest, shoulders, and triceps.
-
Pull — Drawing weight toward you. Rows (pulling weight toward your chest) train your upper back and biceps. This is a critical movement for posture and counteracts all the sitting most of us do.
-
Carry or core stability — Exercises like planks, dead bugs, and farmer’s carries that train your core to resist movement. A strong core is the foundation of every other lift.
-
Lunge or single-leg work — Training one leg at a time improves balance and identifies strength imbalances between your right and left side.
Spend your first few weeks simply getting comfortable with how each pattern feels. Form matters far more than how much weight you are using.
Your First Four-Week Home Workout Plan
This plan is designed for three days per week — enough to build strength while giving your body time to recover. Print this out and keep it somewhere visible.
Weekly Schedule: Monday / Wednesday / Friday (or any three non-consecutive days)
Week 1–2: Foundation (Focus on Form)
Each session (20–30 minutes):
– Bodyweight squat — 3 sets of 10 reps
– Push-up (modified on knees if needed) — 3 sets of 8 reps
– Glute bridge — 3 sets of 12 reps
– Bent-over row (resistance band or dumbbells) — 3 sets of 10 reps
– Plank hold — 3 sets of 20 seconds
– Reverse lunge — 2 sets of 8 reps each leg
Rest 60–90 seconds between sets.
Week 3–4: Building Volume (Slightly More Challenge)
Each session (30–40 minutes):
– Goblet squat (holding a dumbbell or water jug) — 3 sets of 12 reps
– Push-up (full if possible) — 3 sets of 10 reps
– Romanian deadlift (band or light dumbbells) — 3 sets of 10 reps
– Bent-over row — 3 sets of 12 reps
– Plank hold — 3 sets of 30 seconds
– Reverse lunge — 3 sets of 10 reps each leg
– Overhead press (band or dumbbells) — 2 sets of 10 reps
Rest 60–90 seconds between sets.
On rest days (Tuesday, Thursday, Saturday, Sunday), you can walk, stretch, or do light yoga — but avoid intense exercise that stresses the same muscle groups.
How to Progress Without a Personal Trainer
Progressive overload is the concept behind all strength training: you gradually increase the challenge over time so your muscles continue to adapt and grow stronger. You do not need a trainer to do this — you just need a simple system.
Follow this progression ladder:
1. First, get comfortable with the movement using your current resistance.
2. Once you can complete all sets and reps with good form and the last rep feels manageable (not easy, but manageable), add one of the following: more reps, an extra set, or slightly heavier resistance.
3. Never increase more than one variable at a time.
Choosing your starting resistance: If using dumbbells, pick a weight where the last two reps of a set feel challenging but do not break your form. A general starting point for most beginners is 5–10 lbs for upper body exercises and 10–20 lbs for lower body exercises. For resistance bands, start with the lightest band in your set and move up only when you can complete all reps cleanly.
Keep a simple workout log: Write down what you did each session — exercises, sets, reps, and weight used. A notebook works perfectly. This makes it easy to see when you are ready to progress and prevents you from guessing each session.
Safety Tips and Injury Prevention for Beginners
The most common beginner mistake is not starting too slow — it is starting too fast. Enthusiasm is wonderful, but your connective tissues (tendons and ligaments) adapt more slowly than your muscles. Respect that timeline.
Warm up every session. Spend five minutes doing light movement before you train: arm circles, leg swings, hip circles, and a few slow bodyweight squats. This increases blood flow to your muscles and reduces injury risk.
Prioritize form over weight, always. A lighter weight done correctly will build more strength — and keep you injury-free — far better than a heavier weight done sloppily. When in doubt, go lighter.
Understand muscle soreness vs. pain. Delayed onset muscle soreness (DOMS) — the achiness you feel 24–48 hours after a new workout — is normal and expected. Sharp, shooting, or joint pain is not normal and should not be pushed through. If something hurts in a concerning way, stop and rest.
Honor your rest days. Muscles do not grow during your workout — they grow during recovery. Your rest days are not laziness; they are an essential part of the program. Aim for 7–9 hours of sleep per night and make sure you are eating enough protein (a general guideline is 0.7–1 gram per pound of body weight daily) to support muscle repair.
Progress gradually. A good rule of thumb is to increase your training volume — the total amount of work you do — by no more than 10 percent per week. This gives your body time to adapt without breaking down.
Most importantly, remember that every experienced lifter started exactly where you are right now. The gap between beginner and capable is not talent — it is simply showing up consistently over time. Start small, stay patient, and trust that the results will come.
Sources and Further Reading
- Centers for Disease Control and Prevention – Physical Activity Guidelines for Adults: https://www.cdc.gov/physicalactivity/basics/adults/index.htm
- National Institute on Aging – Strength and Balance Exercises: https://www.nia.nih.gov/health/exercise-physical-activity
- American College of Sports Medicine – Resistance Training Guidelines: https://www.acsm.org/education-resources/trending-topics-resource-pages/resistance-training
- Resistance band sets (example pricing): https://www.amazon.com/resistance-bands/s?k=resistance+bands
- Adjustable dumbbells (example pricing at Walmart): https://www.walmart.com/search?q=adjustable+dumbbells
- Yoga mats (example pricing): https://www.target.com/s?searchTerm=yoga+mat