
Lawn Aeration Guide: When, Why, and How to Aerate
Lawn aeration is one of those tasks that separates homeowners who simply mow their grass from those who genuinely cultivate a healthy, resilient lawn. If your yard looks tired, thin, or struggles to bounce back after a dry spell, compacted soil is likely the culprit — and aeration is the solution. This guide walks you through everything you need to know to aerate your lawn like a pro, from diagnosing the problem to completing a full aeration-and-overseeding weekend project that delivers visible results within weeks.
—
## What Lawn Aeration Is and Why It Matters
Lawn aeration is the process of creating small holes or channels in your soil to allow air, water, and nutrients to penetrate deeper into the root zone. Over time, soil naturally compacts under foot traffic, rainfall, and the weight of lawn equipment. When soil becomes too dense, grass roots struggle to expand, water runs off instead of soaking in, and fertilizer sits on the surface rather than reaching the roots where it can do real work.
Think of compacted soil like a sponge that has been squeezed and dried out — water simply beads off the surface rather than being absorbed. Aeration breaks up that compaction and creates pathways for the essential elements your grass needs to thrive.
Beyond simple compaction relief, aeration delivers a cascade of benefits that compound over time. It reduces thatch buildup — the layer of dead grass and organic material that accumulates between the soil surface and living grass blades. While a thin thatch layer (under half an inch) is actually beneficial, anything thicker blocks moisture and harbors disease. Aeration introduces soil microbes to the thatch layer, speeding up decomposition naturally.
Aeration also dramatically improves the effectiveness of your fertilization and overseeding efforts. When you apply seed or fertilizer to an aerated lawn, those inputs fall directly into the holes and make contact with loose soil rather than sitting on top of compacted ground. The result is better germination rates, stronger root systems, and a noticeably denser lawn over a single growing season.
—
## Signs Your Lawn Desperately Needs Aeration
Your lawn will tell you when it needs aeration — you just need to know what to look for. The most obvious signs include water pooling on the surface after rain or irrigation, thin or patchy grass that refuses to fill in despite regular fertilization, and a lawn that feels hard and springy underfoot rather than soft and slightly spongy.
One of the most reliable diagnostic tools costs nothing and takes about thirty seconds: the screwdriver test. Take a standard flathead screwdriver and push it into your lawn with moderate hand pressure. In healthy, well-aerated soil, the screwdriver should slide in easily to a depth of about six inches. If you struggle to penetrate past two or three inches, or if the screwdriver meets significant resistance, your soil is compacted and aeration is overdue. Test multiple spots across your yard, including high-traffic areas near pathways and low-traffic areas near fence lines, to get a complete picture of your soil’s condition.
Other telling signs include grass that looks stressed during dry periods even when you water regularly (a sign roots cannot reach deep moisture), excessive thatch buildup you can feel when you run your fingers through the grass, and visible soil erosion on sloped sections of your yard. If your lawn was recently established on new construction soil — often heavily compacted subsoil with minimal topsoil — aeration is almost certainly needed regardless of how the grass currently looks.
—
## Core vs. Spike Aeration — Which to Choose
There are two primary aeration methods available to homeowners, and the difference between them is significant enough to affect your results.
**Spike aeration** uses solid tines or spikes that poke holes into the soil as you push or drive the machine forward. Spike aerators are widely available as simple attachments, sandals with spikes on the bottom, or rolling drum tools. They are inexpensive and easy to use, but they come with a meaningful drawback: pushing a solid spike into compacted soil actually compacts the surrounding soil further by displacing material sideways rather than removing it.
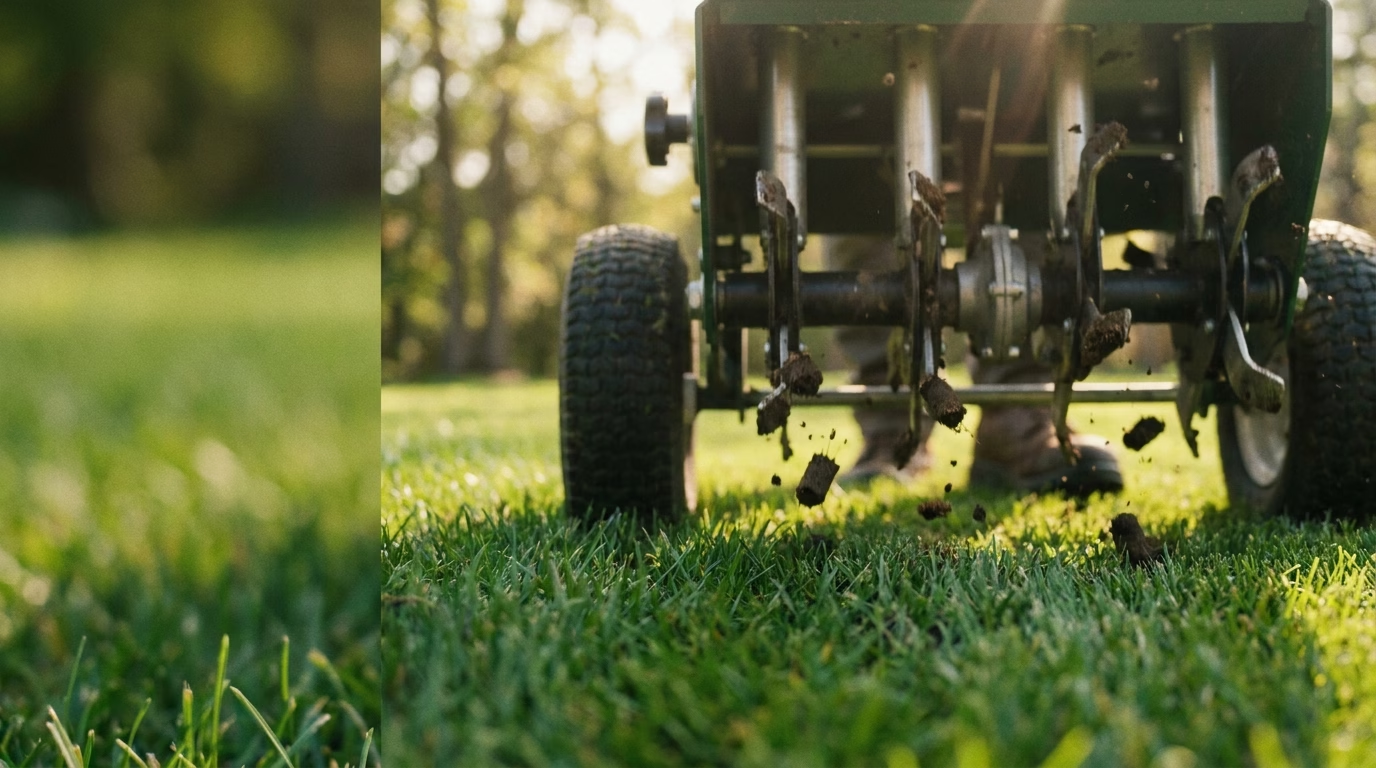
**Core aeration**, also called plug aeration, uses hollow tines that physically remove small plugs of soil — typically half an inch in diameter and two to three inches long — and deposit them on the lawn surface. This is the gold standard method and what most lawn care professionals use. By removing material rather than displacing it, core aeration genuinely relieves compaction and creates open channels that stay open long enough for grass roots to grow into them.
For most homeowners dealing with compacted soil, core aeration is the right choice. Spike aeration may be adequate for lawns that are in generally good condition but receive light preventive treatment each year. If your screwdriver test revealed significant compaction, invest in core aeration.
**On cost:** Renting a core aerator from a home improvement store typically runs between $80 and $100 for a half-day rental, or $100 to $150 for a full day. Hiring a professional lawn service to aerate a typical quarter-acre lawn generally costs between $75 and $200 depending on your region and lawn size. For a single-season treatment, the price difference is relatively modest, but homeowners who plan to aerate annually and share a rental with a neighbor can significantly reduce their long-term cost. Purchasing a residential-grade core aerator outright costs between $300 and $600, which pays for itself within a few seasons if you maintain a large lawn.
—
## Best Time of Year to Aerate by Grass Type
Timing your aeration to align with your grass’s natural growth cycle maximizes recovery and results. The key principle is simple: aerate when your grass is actively growing, not when it is dormant or under heat stress.
**Cool-season grasses** — including Kentucky bluegrass, tall fescue, perennial ryegrass, and fine fescues — grow most vigorously in early fall and early spring. Early fall, specifically late August through October depending on your climate zone, is the ideal window. Soil temperatures are still warm enough to encourage rapid recovery, the worst summer heat has passed, and you have weeks of prime growing weather before the first frost. Spring aeration (March through May) is a secondary option but carries more risk of disturbing crabgrass germination if you are not careful about timing.
**Warm-season grasses** — including Bermudagrass, Zoysia, St. Augustine, Centipede, and Bahia — should be aerated in late spring through early summer, from May through June in most regions. This is when warm-season grasses are entering their peak growth phase and have the best capacity to fill in the holes quickly and recover from the process.
Avoid aerating any grass type during periods of drought stress or extreme heat without the ability to water consistently afterward. Aeration opens the soil and temporarily increases moisture evaporation, which can make drought stress worse if you cannot follow up with irrigation.
—
## Step-by-Step Aeration Process for DIYers
**Step 1: Prepare your lawn.** Mow your grass to its normal height two to three days before aeration. Water the lawn thoroughly one to two days before you aerate — ideally to a depth of one inch. Moist soil allows the aerator tines to penetrate deeper and pull cleaner plugs. Avoid aerating waterlogged soil, which can smear and compact rather than release cleanly.
**Step 2: Mark hazards.** Walk your lawn and flag any irrigation heads, shallow cable or utility lines, and decorative edging that could be damaged by the aerator. Most equipment rental companies provide flags for this purpose.
**Step 3: Make your passes.** Run the core aerator in parallel rows across your lawn, similar to mowing. For heavily compacted areas or lawns that have not been aerated in several years, make a second pass perpendicular to the first to increase hole density. Aim for approximately eight to twelve holes per square foot in compacted zones.
**Step 4: Leave the plugs.** Resist the urge to rake up and remove the soil plugs. Leave them on the lawn surface. Within one to two weeks, rain and foot traffic will break them down and allow the loosened soil to filter back into the holes. This returned soil also introduces beneficial microbes to the thatch layer.
**Step 5: Apply fertilizer.** This is the ideal moment to fertilize your lawn. The open cores act as direct delivery channels to the root zone. Use a starter fertilizer if you plan to overseed, or a regular slow-release formula if you are focusing on strengthening existing turf.
—
## Post-Aeration Care for Maximum Results
The two to four weeks following aeration are a critical window. How you treat your lawn during this period determines how much benefit you actually capture from the work you have done.
**Combine aeration with overseeding for a weekend project.** After completing your aeration and before applying fertilizer, spread grass seed across the entire lawn at the overseeding rate recommended for your grass type (typically half the normal seeding rate for established lawns). The open cores provide ideal seed-to-soil contact and dramatically improve germination rates compared to overseeding on an unaerated lawn. This two-step combination — aerate Saturday morning, overseed and fertilize Saturday afternoon — is one of the most effective lawn improvement projects a homeowner can complete in a single weekend.
**Water consistently.** For the first two weeks post-aeration, water lightly but frequently — two to three times daily if you have overseeded — to keep the surface moist and support germination. After germination, transition to deeper, less frequent watering to encourage root depth.
**Hold off on herbicides.** If you have overseeded, avoid applying pre-emergent or post-emergent herbicides for at least six to eight weeks. Many herbicides interfere with seed germination.
**Be patient with foot traffic.** Minimize heavy traffic on newly aerated and overseeded areas for three to four weeks to give new seedlings time to establish.
With proper post-aeration care, most homeowners begin to see visible density improvements within four to six weeks and a dramatically healthier, thicker lawn by the following season. Aeration is not a one-time fix — committing to annual or biannual aeration builds cumulative soil health improvements that make every other lawn care input more effective over time.
—
### Sources and Additional Reading
– Aerator rental pricing: [Home Depot Tool Rental](https://www.homedepot.com/c/tool_and_truck_rental) — core aerator daily rates vary by location; check your local store for current pricing.
– Professional aeration cost estimates: [HomeAdvisor / Angi Lawn Aeration Cost Guide](https://www.angi.com/articles/lawn-aeration-cost.htm) — national average ranges from $75–$200 for standard residential lots.
– Core aerator purchase options: [Amazon – Lawn Core Aerators](https://www.amazon.com/s?k=core+aerator) — residential models typically range from $300–$600.
– Grass type aeration timing and best practices: [University of Minnesota Extension – Aerating Lawns](https://extension.umn.edu/lawn-care/aerating-lawns)
– Overseeding rates and post-aeration seeding guidance: [Purdue University Turfgrass Science](https://www.purdue.edu/hla/sites/turf/)
