
How to Change Your Own Oil: A Beginner’s Step-by-Step Guide
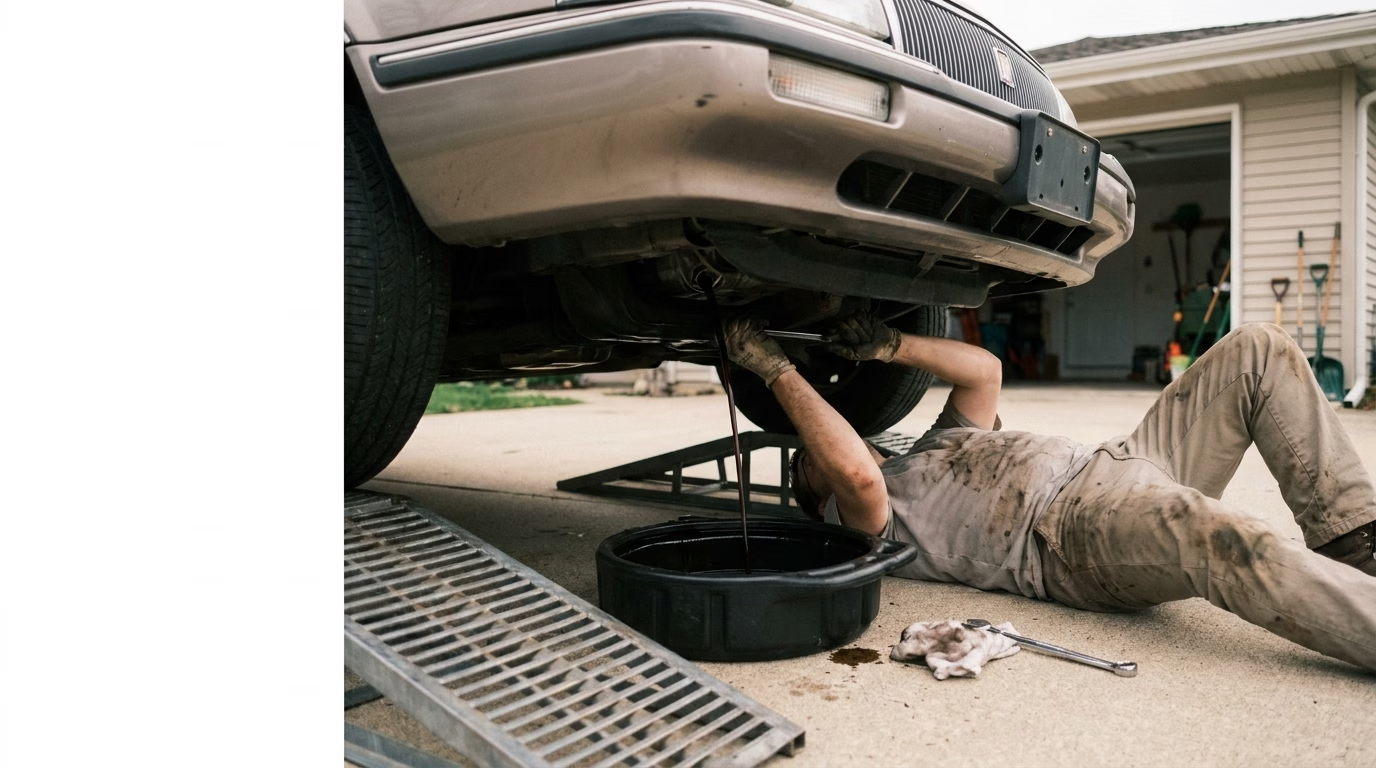
Changing your own oil is one of the most accessible and rewarding maintenance tasks a car owner can learn. It requires no formal training, costs a fraction of what a shop charges, and gives you direct knowledge of what’s going into your engine. For a beginner with no mechanical background, the process can feel intimidating at first, but once you understand the logic behind each step, it becomes a straightforward routine you can complete in about 30 to 45 minutes. This guide walks you through everything you need to know, from gathering your tools to disposing of the used oil responsibly, with enough detail that you can do it confidently the very first time.
Tools and Supplies You Need Before You Start
Before you get under the car, assemble everything you’ll need. Running back and forth to the garage mid-job is frustrating and increases the chance of making a mess. Here’s a complete checklist with approximate current average prices:
| Item | Average Cost |
|---|---|
| Oil drain pan (5–8 quart capacity) | $10–$20 |
| Car jack and jack stands (if needed) | $40–$80 for a basic floor jack; $20–$40 for a pair of stands |
| Ramps (alternative to jack and stands) | $25–$50 |
| Oil filter wrench | $8–$15 |
| Socket wrench set with extensions | $20–$50 for a basic set |
| Funnel | $3–$8 |
| Nitrile gloves (box of 100) | $10–$15 |
| Shop rags or paper towels | $5–$10 |
| New engine oil (5 quarts, varies by type) | $25–$60 depending on conventional vs. synthetic |
| New oil filter | $5–$20 |
| Drain plug crush washer (if applicable) | $1–$3 |
Total estimated first-time setup cost: $70–$180, depending on what you already own and whether you buy ramps or a jack. On subsequent oil changes, you’ll only be spending on the oil, filter, and washer—typically $30–$65—compared to $60–$100+ at a quick-lube shop.
You’ll also want a flat, level surface to work on and a flashlight or work light for visibility under the vehicle. A plastic tarp under your work area helps protect the driveway and simplifies cleanup.
How to Find the Right Oil Type and Filter for Your Car
Using the wrong oil or filter is one of the most common beginner errors, and it’s completely avoidable with two minutes of research.
Finding your oil specification: Open your owner’s manual and look for the maintenance or lubrication section. It will specify the oil viscosity (such as 5W-30 or 0W-20), whether synthetic or conventional oil is required or recommended, and the total oil capacity for your engine. If you don’t have your manual, you can find this information free at sites like the manufacturer’s official website or AutoZone’s vehicle lookup tool at autozone.com.
Conventional vs. synthetic: Conventional oil is refined directly from crude oil and works fine for older, high-mileage vehicles with moderate driving conditions. Full synthetic oil is engineered to provide better performance in extreme temperatures, longer change intervals, and improved protection for modern engines. Many new vehicles require full synthetic. If your manual says “full synthetic required,” don’t substitute conventional—it won’t provide adequate protection. High-mileage synthetic blends are formulated specifically for vehicles over 75,000 miles and include conditioners to help aging seals.
Choosing the right filter: Oil filters are vehicle-specific. The easiest way to find yours is to use the parts store filter lookup tool—enter your year, make, model, and engine size at any major retailer like AutoZone, O’Reilly, or Advance Auto Parts. Stick with reputable brands like Bosch, Fram, Mobil 1, or Wix. Budget filters from unknown brands can fail prematurely or have poor filtration media, which defeats the purpose of the oil change.
Change interval: Unless your owner’s manual states otherwise, most modern vehicles using full synthetic oil can go 7,500 to 10,000 miles between changes. Conventional oil typically calls for 5,000 miles or less. Ignore the outdated blanket recommendation of 3,000 miles—it no longer applies to most current vehicles and simply wastes money.
Step-by-Step Draining and Refilling Process
Step 1 – Warm the engine slightly. Start the car and let it run for two to three minutes, then shut it off. Slightly warm oil flows more freely than cold oil, making draining faster and more complete. Do not do this with a hot engine—hot oil can cause serious burns.
Step 2 – Safely elevate the vehicle if needed. If your car sits low enough that you can’t get underneath comfortably, use ramps or a floor jack with jack stands. Never work under a vehicle supported only by a hydraulic jack. Drive the front tires up ramps or jack the vehicle up at the manufacturer-specified lift points (shown in your owner’s manual), then place jack stands under the frame before going under.
Step 3 – Locate the drain plug and oil filter. Slide under the vehicle and locate the oil pan—it’s the lowest point of the engine block, usually made of stamped steel or aluminum. The drain plug is a bolt at the bottom of the pan. The oil filter is typically a cylindrical canister nearby, though on some vehicles it sits on top of the engine and is accessed from above.
Step 4 – Remove the drain plug. Position your drain pan directly below the plug. Using the correct size socket (commonly 14mm, 17mm, or 19mm), turn the plug counterclockwise to loosen it. Once it’s nearly out, hold it with your fingers and pull it away from the pan quickly as oil begins to flow—this minimizes splashing on your arm. Let the oil drain completely, which typically takes five to ten minutes.
Torque spec reference for common drain plug sizes:
| Drain Plug Size | Common Torque Spec |
|---|---|
| 14mm | 25–30 ft-lbs |
| 17mm | 25–35 ft-lbs |
| 19mm | 30–40 ft-lbs |
| 21mm | 30–44 ft-lbs |
Always consult your owner’s manual or a service database like AllData or Chilton for your specific vehicle’s torque spec. Over-tightening strips threads; under-tightening causes leaks.
Step 5 – Replace the crush washer. Many drain plugs use a soft aluminum or copper crush washer that deforms to create a seal. Replace this every oil change—they cost about $1–$3 and are cheap insurance against leaks. Some vehicles use a rubber O-ring on the plug instead; inspect it for damage and replace if cracked.
Step 6 – Remove and replace the oil filter. Use your oil filter wrench to loosen the old filter counterclockwise. Have your drain pan positioned nearby—residual oil will spill out. Before installing the new filter, dip your finger in fresh oil and lightly coat the rubber gasket on the new filter. This ensures a proper seal and makes next removal easier. Thread the new filter on by hand until the gasket touches the mounting surface, then tighten an additional three-quarter turn—do not use a wrench to tighten, only to loosen.
Step 7 – Reinstall the drain plug. Thread the drain plug in by hand first to avoid cross-threading, then tighten to the specified torque with your wrench. Snug is sufficient—you’re sealing against a soft washer, not trying to set a record.
Step 8 – Add fresh oil. Remove the oil filler cap on top of the engine (it typically has an oil can symbol), insert your funnel, and pour in roughly one quart less than the total capacity specified in your manual. Check the dipstick, then add oil gradually until you reach the full mark. Replace the cap securely.
Step 9 – Check for leaks. Start the engine and let it idle for 30 to 60 seconds. Watch the oil pressure warning light—it should go off within a few seconds. Shut the engine off, wait two minutes, and check underneath for any drips around the drain plug or filter. If you see oil, tighten the relevant component slightly.
Step 10 – Reset the oil life monitor. Most vehicles have an oil life or maintenance reminder system. The reset procedure varies by manufacturer and is typically found in your owner’s manual or by a quick internet search for your specific model.
Common Beginner Mistakes and How to Avoid Them
Mistake 1 – Over-tightening the drain plug or filter. This is the single most common error and can crack the oil pan, strip threads, or make the filter impossible to remove next time. The fix is simple: use a torque wrench for the drain plug and follow the hand-tighten-plus-three-quarter-turn rule for the filter. If you’ve already over-tightened a plug and the threads feel damaged, stop driving the vehicle and consult a mechanic before the plug fails entirely.
Troubleshooting: If oil is leaking from the drain plug after reinstallation, the crush washer may have been reused instead of replaced, or the plug was under-tightened. Drain the remaining oil, replace the washer, and reinstall to proper torque.
Mistake 2 – Forgetting to reinstall the drain plug before adding oil. It sounds almost too obvious to mention, but it happens frequently to first-timers who get distracted between steps. Five quarts of synthetic oil emptying onto your driveway is an expensive and messy lesson. The fix: complete the drain plug and filter installation and visually confirm both are secure before you move to the top of the engine to add oil.
Troubleshooting: If you add oil and suddenly see a flood underneath the car, immediately turn off the engine if you started it (don’t run the engine without oil), clean up the spill, reinstall the drain plug, and carefully assess how much oil was lost. Add enough fresh oil to reach the full mark before attempting to start again.
Mistake 3 – Using the wrong oil or adding too much. Overfilling the crankcase can cause oil to foam as the crankshaft whips through it, leading to poor lubrication and potential engine damage. If you overfill, use a fluid transfer pump or turkey baster to remove the excess through the dipstick tube until the level reads correctly.
Troubleshooting: If your dipstick reads above the full mark after an oil change, don’t drive the vehicle. Remove oil in small increments and recheck the dipstick after each extraction until the level is within the safe range.
Proper Disposal of Used Oil
Used motor oil is classified as a hazardous waste in most states and should never be poured down a drain, into the trash, or onto the ground. It contaminates groundwater and soil and is illegal to dump improperly in most jurisdictions.
The good news is that disposal is free and easy. Nearly every major auto parts store—AutoZone, O’Reilly, Advance Auto Parts, and others—accepts used oil at no charge. Many quick-lube shops and municipal recycling centers also accept it. Transfer your used oil from the drain pan into a sealed container (your old oil bottles work perfectly) before transporting it.
To find the closest drop-off location, use the Earth911 locator at earth911.com or call your local recycling coordinator. The used oil is then re-refined into new lubricating oil or burned as fuel in industrial furnaces—a closed loop that makes DIY oil changes genuinely environmentally responsible when handled correctly.
When DIY Oil Changes Make Financial Sense
Doing your own oil change makes the most financial sense when you drive a vehicle that uses a straightforward, accessible drain plug and filter configuration, and when you can perform changes regularly enough to recoup the cost of your tools. If you own a newer car under warranty, check your owner’s manual—some manufacturers include complimentary maintenance, which makes paying out of pocket or doing it yourself temporarily less valuable.
For vehicles using conventional oil changed every 5,000 miles, a DIY change typically costs $30–$45 in materials versus $60–$80 at a shop, saving you $15–$35 per change. Over the course of a year with two to three changes, that’s $30–$100 in savings. With a full-synthetic schedule at 7,500 to 10,000 miles, the savings per change are similar, but you change less frequently.
The financial case becomes even stronger when you consider time. Many quick-lube shops now have 45-minute to over one-hour wait times during peak periods. A home oil change, once you’ve done it a couple of times, takes 30 to 45 minutes—in your own driveway, on your schedule.
Where DIY may not make sense: if your vehicle has a cartridge-style filter buried deep in the engine bay, if it requires a specialty tool for access, or if you’re renting an apartment without access to a safe, level workspace. Some modern vehicles also have very low clearances that make drain access difficult without professional lifts.
Ultimately, the value of learning to change your oil extends beyond the money. You become familiar with what your engine looks like when it’s healthy, you notice leaks and worn components before they become emergencies, and you develop the mechanical confidence to tackle other basic maintenance tasks. That compounding return on knowledge is worth as much as any coupon from a chain shop.
Sources and Further Reading
- Oil type and capacity lookup: AutoZone Vehicle Lookup — free resource for filter and oil specifications by year, make, model, and engine
- Owner’s manual archive: Haynes Manuals and Chilton Library — free through many public library systems
- Oil change interval guidance: AAA’s study on oil change intervals, available at newsroom.aaa.com
- Used oil recycling locator: Earth911 — enter “motor oil” and your zip code
- Torque specs database: AllData DIY — paid subscription service with OEM torque specs for specific vehicles
- Current oil and filter prices: AutoZone.com, RockAuto.com, Amazon Automotive — prices fluctuate and should be verified at time of purchase
- Shop labor rates comparison: AAA’s auto repair cost guides at aaa.com/autorepair
